Manufactured stone grouting techniques
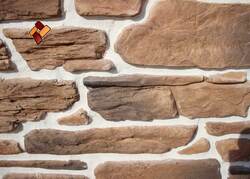
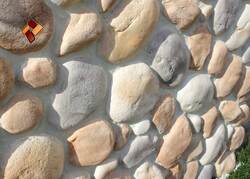
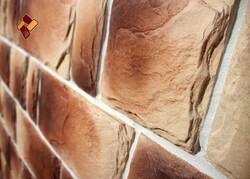
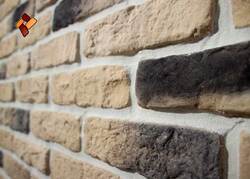
When cladding with Small Brick, Aged Brick, Roman brick, Travertine, Greek Stone, Alpine Village, Pebble, English fortress, Ancient Rome, etc., make sure to leave a joint no less than 10 to 12 mm wide.
After cladding, special grouts are applied to the revetted surface to give it a smooth blended look and make it durable.
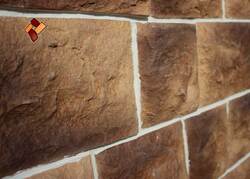
Besides being a decorative detail, grout protects joints from moisture and emphasizes the texture of the stone.
 |
We recommend using a professional grout HAGASTAPEL.
It allows you to grout joints of 5 to 70 mm wide. We can offer you HAGASTAPEL grout of any color depending on your taste and preferences. Professional grout HAGASTAPEL is plastic, reliable and easy to use. Also consider its efficient cost-effectiveness. The grout is sold as dry mix in bags of 25 kg.
Its cost can be found in the section "Price List for related materials". |
Application of technology:
1. After the area for grouting is defined, a measured amount of dry grout is poured into a plastic 20-liter bucket. After adding water (in the proportions specified by the instructions on the bag), mix the contents to a smooth consistency with an electric drill (or a construction mixer).
2. After mixing, let the mix cure for 10 or 15 minutes.
3. You will need a professional funnel-shaped polyurethane bag which is used to work with grouts when laying tiles and stone. It is also possible to use a construction syringe.
4. Using a spatula, the prepared mix is packed into the funnel-shaped polyurethane bag.
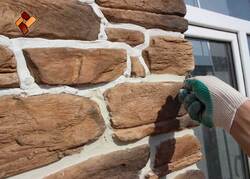
5. The grout is evenly squeezed through a fitting nozzle (depending on the joint width) in the joints between stone veneers. The entire joint space is filled out leaving no voids.
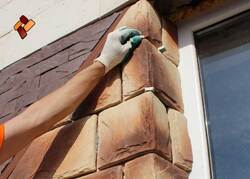
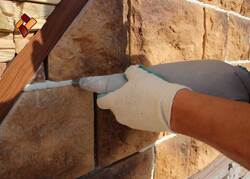
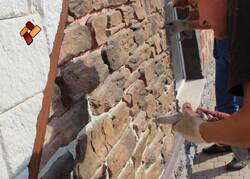


6. The curing of the grout in the joint depends on the conditions of temperature and humidity of the environment. This time can vary from 15 to 40 minutes. Do not apply the grout to the entire surface that needs to be treated. Grouting joints on an area of about from 1 to 3 square meters, so that you can determine how quickly the grout starts to set and harden and then decide what intervals are needed to stop and clean the already treated areas.
7. After the grout has cured, the joints are evenly spread using a special tool (trowel, spatula, grout float, striking tool) until the needed aesthetic appearance is obtained. At this stage, brushes are used to clean the entire surface of the wall from small particles of grout excess.
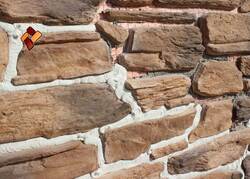
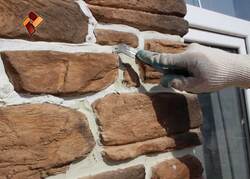
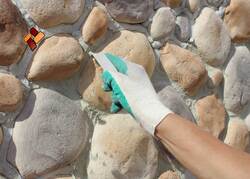


8. If facades or other exterior surface is faced with manufactured stone, we recommend using protective hydrophobic coating 24 hours after the grouting is completed. It is necessary to treat the entire surface, including joints and manufactured stone veneer.
After fulfilling our recommendations above, you will get an elegant and trendy decorative surface as well as neighbors or friends consumed by envy!
